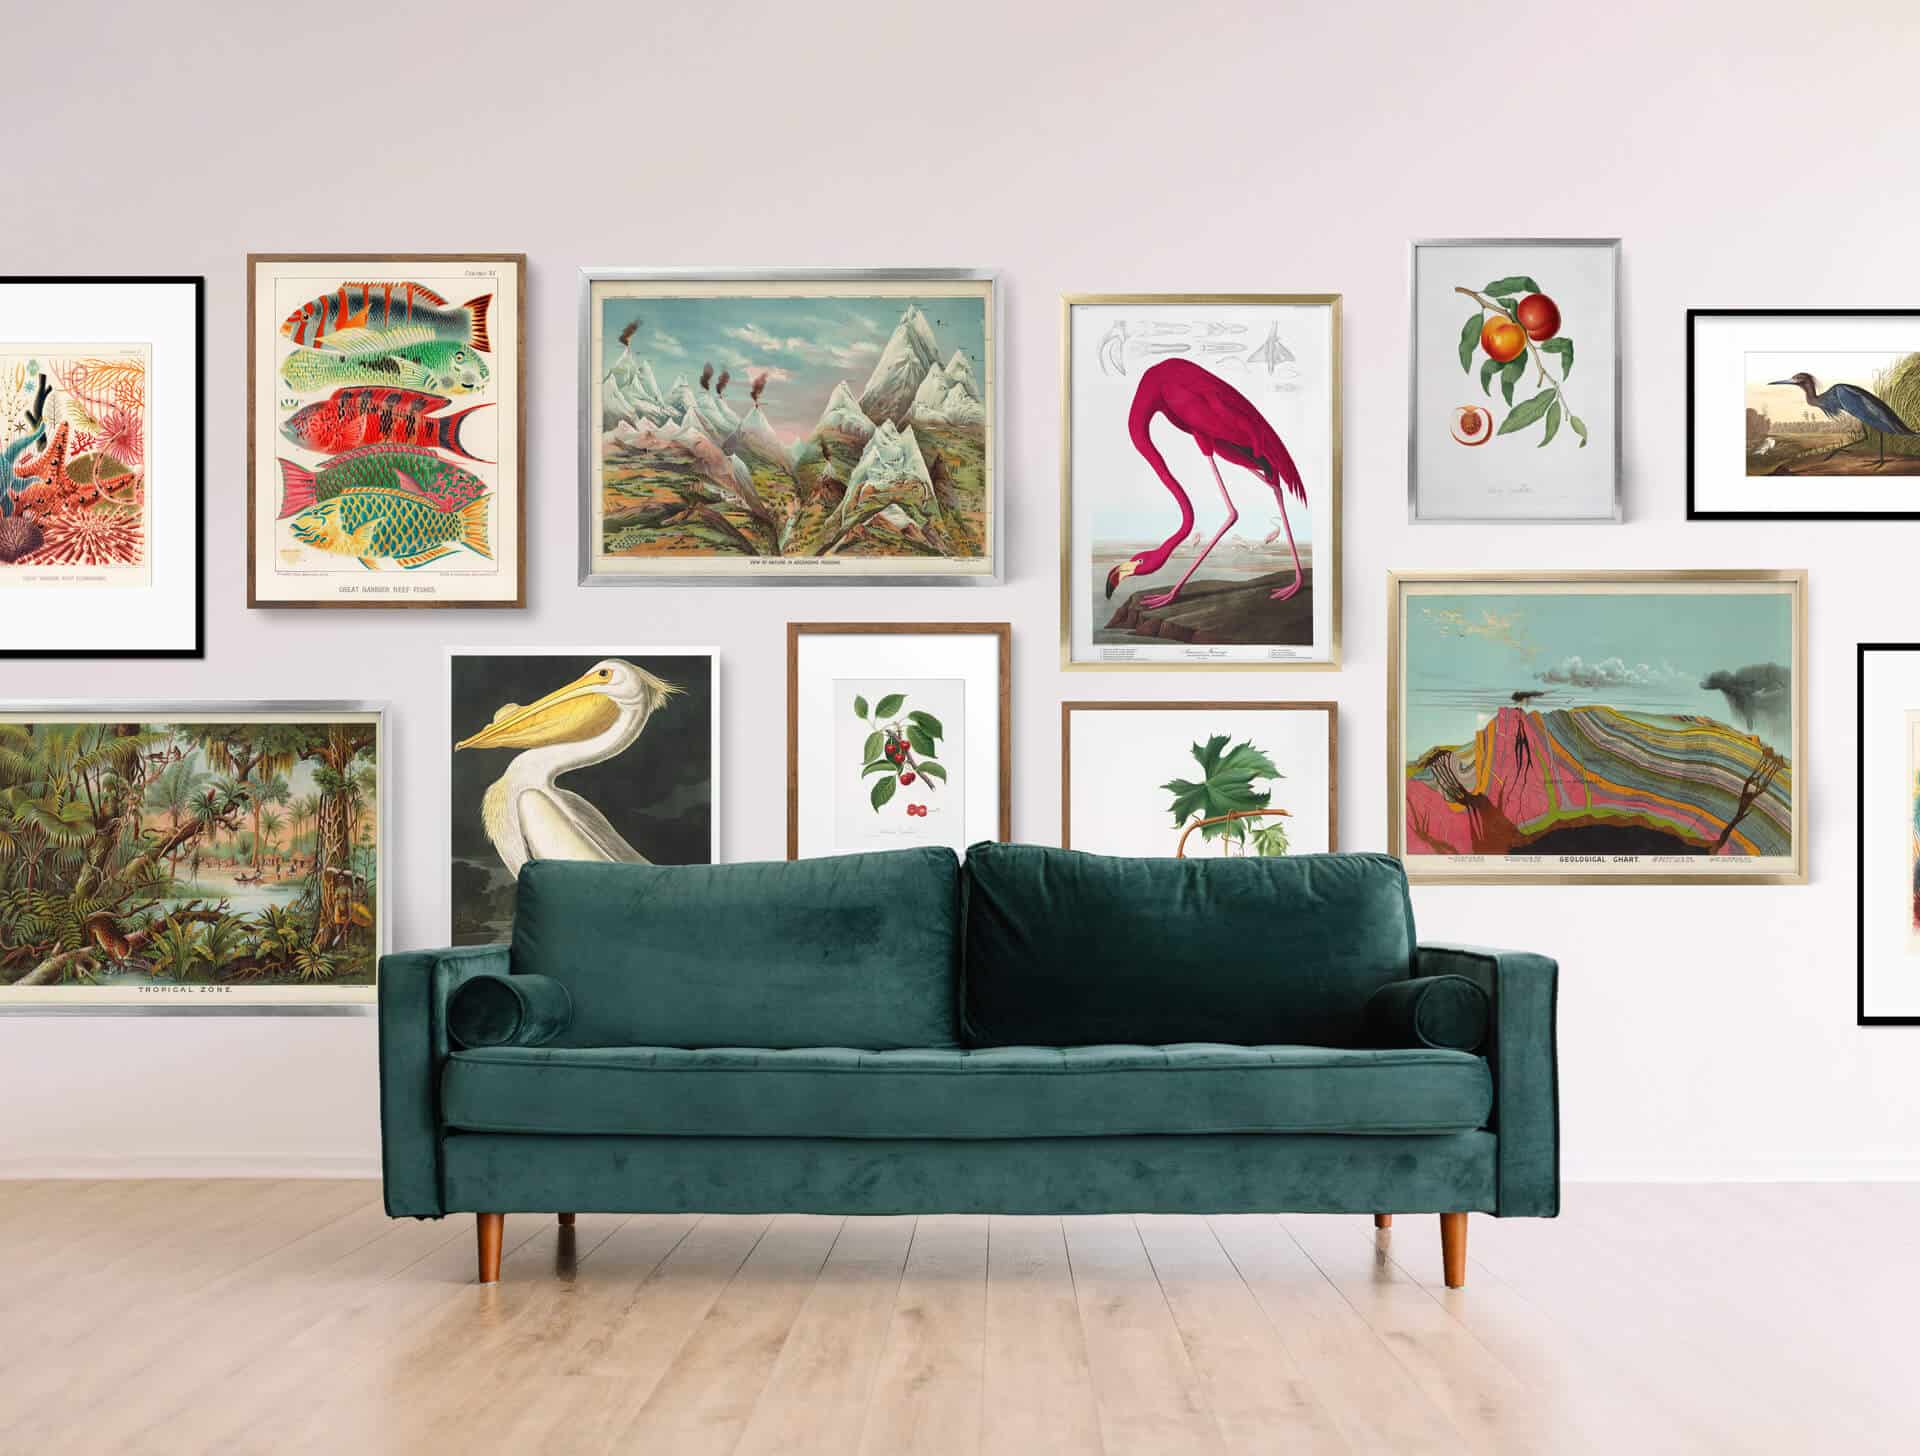
DIY Gallery walls are a beautiful and personal way to decorate your home, and they can be created in any style to suit your taste.
Whether you want to display family photos, art prints, or a mix of both, a gallery wall is a great way to add character and interest to any room. In this blog post, we’ll show you how to create the perfect gallery wall for your home.
Step 1: Decide on the theme and aesthetic of your gallery wall
Before you start gathering frames and artwork, it’s important to decide on the overall look and feel of your gallery wall. This could be based on your personal style, the decor of the room, or a combination of both. Think about the colours, textures, and themes that you want to incorporate. You might choose a cohesive colour scheme or go for a more eclectic mix of styles.
Step 2: Measure and plan the layout of your DIY gallery wall
Once you have an idea of the theme and aesthetic of your gallery wall, it’s time to measure the wall space and determine the size and layout of the frames. You can use graph paper and cutouts of the frames to play around with different arrangements. Consider the size and shape of the wall, as well as the size and shape of the frames, when planning the layout.
Step 3: Gather your frames and artwork
Now it’s time to start gathering the frames and artwork that you want to include in your gallery wall. This could be a mix of family photos, art prints, and other decorative items such as mirrors or shelves. Choose items that reflect your personal style and fit with the theme and aesthetic of your gallery wall.
Step 4: Hang the frames and decor items
Once you have all of your frames and artwork ready, it’s time to start hanging them on the wall. Begin with the center piece and work your way outwards. Use a level to ensure that the frames are straight and evenly spaced. Consider adding additional elements to your gallery wall, such as shelving or ledges, to add depth and interest. You can also incorporate other decor items such as plants, vases, or candles to add a personal touch.
Step 5: Evaluate and adjust the overall look
When you have all of the frames and decor items hung on the wall, step back and evaluate the overall look. Make any necessary adjustments to the placement of the frames and decor items to achieve the desired aesthetic. Don’t be afraid to move things around until you’re happy with the result.
Creating a DIY gallery wall can be a fun and creative way to decorate your home. By following these steps and using your personal style as a guide, you can easily create a stunning gallery wall that adds character and personality to any room. With a little bit of planning and creativity, you can create a beautiful display that you’ll enjoy for years to come.